

Clear Chemistry Examples: Visual Clues and Worked Steps
Practical chemistry examples that show what a photo can prove, what it cannot, and the follow-up checks worth doing before you rely on the result.
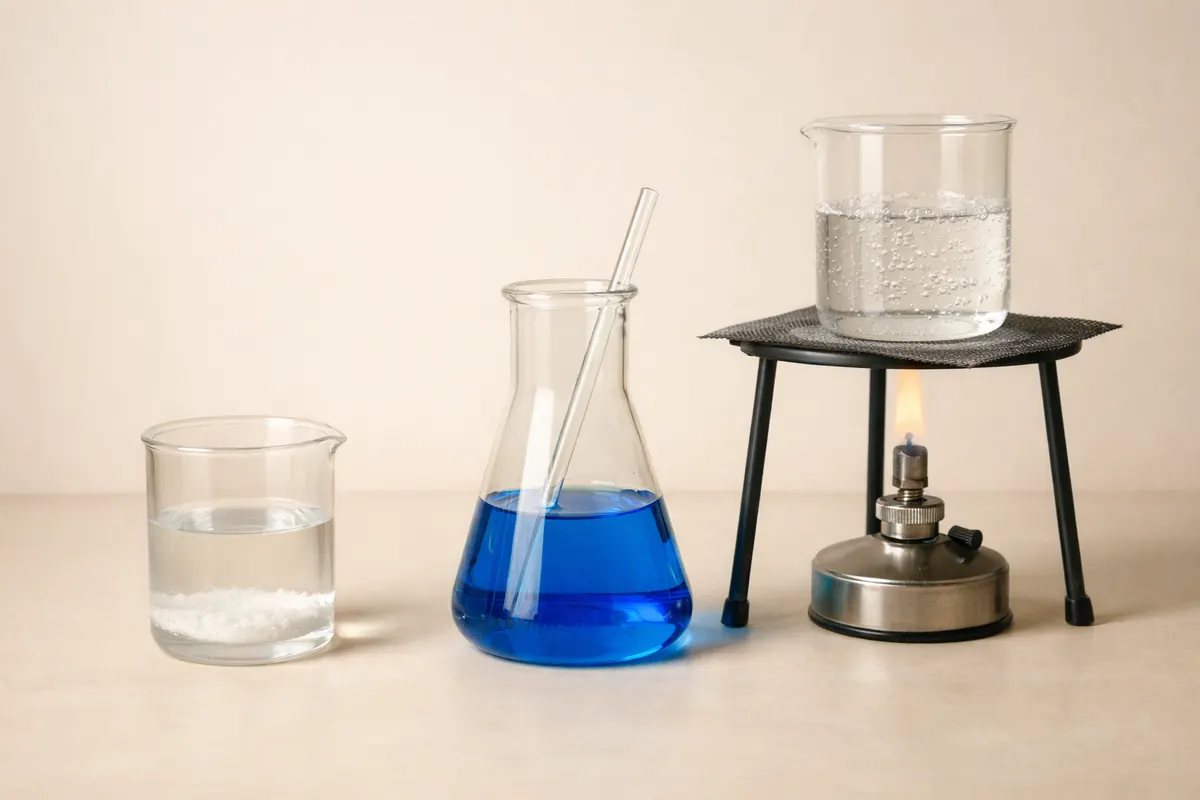
Quick answer: what chemistry examples a photo can show
Chemistry examples that a single clear photo can often support include obvious color changes (like litmus or phenolphthalein), simple precipitates (a cloudy solid forming in a clear solution), crystalline habit and color, and gross phase differences (solid vs. liquid vs. gas bubbles). When a photo captures a step of a visible reaction—gas evolution, formation of a solid, or a distinct color transition—you can usually draw a useful, evidence-backed conclusion about what kind of process is occurring.
Other chemistry examples require more than a photo: molecular identity, precise concentrations, or whether a compound is pure usually need lab analysis. Photos are powerful for narrowing options and exposing lookalikes (for example, copper(II) sulfate crystals vs. colored glass fragments), but they rarely prove composition on their own. Treat photographic evidence as a first-pass clue that points toward specific follow-up tests rather than a final verification.
If you have a photo, include scale, a color reference (white card or neutral gray), and at least two vantage points. That combination often turns a tentative visual read into a high-confidence observation for many everyday chemistry examples such as titration endpoints, precipitate formation, and colorimetric tests.
What these chemistry examples actually show and why it matters
When we say ‘‘chemistry examples’’ in a visual-check context, we mean observable events or features that correlate with chemical identities or processes: color of a solution, texture of a precipitate, bubbling that indicates gas production, or a stain left on a surface. These signals matter because they let you form a hypothesis—e.g., a purple-to-clear color change with phenolphthalein suggests a pH shift through the endpoint of a base titration—but they are not absolute proof of identity or concentration.
A photo documents appearance at one or a few moments in time. That snapshot can capture transient events (a fizzing burst) and stable features (a crystal shape), and both are informative. For example, needle-like crystals and a deep blue color are strong visual clues for some hydrated copper salts, but the same blue could come from food dye or a plastic fragment unless you confirm with solubility, flame test, or spectroscopy.
Understanding what the photo can and cannot show helps prioritize next checks. In lab work and safe home experiments alike, this prevents misinterpretation: you avoid assuming a substance is nonhazardous because it looks like table salt, or that a green solution is copper because many green dyes and contaminants can mimic that appearance. The practical goal is to convert a visual clue into a targeted, low-cost verification path.
Key visible clues to spot in chemistry examples
When you examine a photograph for chemistry examples, focus on the strongest, least ambiguous signals first. Those tend to be: consistent color across a solution, distinct boundaries between phases, reproducible particle size/shape in solids, and dynamic signs like sustained bubbling or thermal signs (condensation, fogging). Each of these clues narrows the plausible chemical explanations.
Contextual clues are equally important: labels on containers, the apparatus shown (Bunsen burner, pipette, graduated cylinder), and scales or rulers that indicate size. For example, a white powder labeled ‘‘NaCl’’ inside a kitchen shaker offers different prior probability than an unlabeled mound of white powder in a garage. Combine the visual and contextual signals to estimate confidence before recommending a test or action.
Below are compact checklists you can apply to most chemistry examples photographed in the field or classroom to prioritize next steps and avoid lookalikes.
- Color and uniformity: a consistent solution color (not streaks or layered shades) suggests a dissolved species; streaky or layered colors often mean immiscible liquids or suspended particulates.
- Phase boundaries: sharp interfaces between liquid and solid or two immiscible liquids point to density differences or immiscibility; cloudy suspensions often indicate colloids or fine precipitates.
- Particle morphology: cubic crystals vs. needles vs. amorphous powder narrow down candidate salts and organic solids; photograph crystals with a coin or ruler for scale.
- Dynamics: sustained bubbling (beyond a single burst) is stronger evidence of gas evolution than a one-frame blur; note whether bubbles form on the container wall, a solid surface, or freely in the liquid.
- Apparatus cues: a burette and indicator paper strongly suggest a titration; a pH strip next to a solution gives a useful independent check of any claimed pH-dependent color change.
- Surface residues and stains: residues with characteristic color (rust-red, blue-green, black) give clues about metal ions, organics, or carbonaceous soot but never confirm identity alone.
- Label and environment: handwritten labels, recent pouring marks, or nearby reagents in the frame change the prior probability of likely substances and should alter the confidence level you assign.
Step-by-step workflow for working up a chemistry example
Turn a photographed chemistry example into a practical conclusion by following a disciplined workflow. Start with careful observation, then move to controlled checks that either strengthen or eliminate hypotheses. This keeps you from leaping to conclusions and helps plan low-cost verification before expensive tests.
Step 1 — Document: save the highest-resolution photo available, capture additional views (close-up, context, underside), and note time and conditions (temperature, recent additions, smell if safe). Good documentation makes later cross-checks meaningful.
Step 2 — Describe: write a concise, evidence-first description: color, texture, apparatus, dynamic behavior, and any labels. Translate the observation into a short hypothesis like ‘‘blue crystalline solid, likely a hydrated copper salt’’ rather than ‘‘it’s copper.’’ That phrasing leaves room for follow-up checks.
Step 3 — Quick noninvasive checks: include a neutral white card for color calibration, a pH strip against the solution surface, and a simple solubility check in distilled water if safe (note exothermic dissolution risks). These checks either add independent data or reveal contradictions with your hypothesis.
Step 4 — Targeted confirmatory tests: choose low-risk, low-cost tests that best discriminate between remaining candidates. Examples: flame test for metal ions, odorless gas tests (CO2 limewater), simple precipitation reactions (adding a small, controlled amount of reagent known to form a characteristic precipitate), or using a molar-mass calculator after measuring mass and moles when appropriate.
Step 5 — Escalate when needed: if ambiguity remains and the result matters (safety, purchase, lab work), recommend instrumental analysis (IR, NMR, mass spectrometry, ion chromatography) at a certified lab. Always document chain-of-evidence and avoid handling unknown samples without suitable PPE or supervision.
- Keep each check incremental: a sequence of low-risk tests often rules out many lookalikes without specialized equipment.
- When a photo suggests a hazardous material (reactive metal powder, strong oxidizer, unknown gas evolution), stop and consult safety material rather than performing ad hoc tests.
- Record negative results as carefully as positive ones: failure to dissolve or no color change is informative and reduces candidate list.
- If working from a photo shared by someone else, ask for additional images showing scale and the scene; many misidentifications stem from missing context.
Worked chemistry examples you can verify visually
Example 1 — Precipitate formation: a farmer sends a photo of a cloudy white slurry formed after mixing two clear solutions. Visible clues: uniform cloudiness, flocculent particles settling slowly, no gas. Likely chemistry examples include insoluble salts like calcium carbonate or silver chloride. Quick checks: add a few drops of dilute acid; calcium carbonate efferves (CO2) while silver chloride dissolves in concentrated ammonia. Both checks are low-cost and help discriminate.
Example 2 — Indicator endpoint: a lab student photographs a burette titration showing a pale pink that persists. Visual clues: color change across the entire solution, close to colorless in the initial frames, small volume change per drop. For acid–base titrations using phenolphthalein, a persistent pale pink across the bulk indicates the endpoint has been reached or slightly passed. Verify with pH strips or a small replicate titration to confirm equivalence point.
Example 3 — Crystal identification: a hobbyist shares images of deep blue, prismatic crystals on a paper towel. Visual clues: color saturation, handedness or habit of crystals, residual wetness indicating hydrated form. Candidate chemistry examples include copper(II) sulfate pentahydrate or copper acetate. Solubility, a flame test (green-blue flame from copper), or even rubbing a tiny crystal on porcelain to see abrasion color can narrow the choice; handle with gloves and avoid inhalation.
Example 4 — Gas evolution and reactivity: a short clip shows vigorous bubbling when a metal is added to an acid. Clues: sustained bubbling from metal surface, temperature rise on the container, and color of the solution changing. If hydrogen is suspected, a safe confirmatory check is the characteristic 'pop' test performed by trained personnel in controlled settings; otherwise, recommend professional testing or handling recommendations because reactive metals plus acids can be hazardous.
Example 5 — Stains and residues: a greenish-blue residue on a pipe photographed in a garage. Clues suggest copper corrosion (verdigris) rather than paint: flaky texture, localized buildup around joins. Confirm with a small scraping tested for solubility in vinegar (acetic acid) or simple spot tests for copper ions if safe to perform; if the residue is on potable plumbing, escalate to certified water testing to rule out contamination.
- When possible, reproduce the condition on a small scale before drawing conclusions from a photo-only observation.
- Always consider nonchemical lookalikes: textiles, dyes, or plastics can mimic metals and mineral colors in photos.
- If the example could affect health, food safety, or structural integrity, recommend formal lab confirmation rather than home testing.
Limitations
Photos are limited by resolution, color balance, and the available perspective. Many chemistry examples that look convincing at first glance are actually ambiguous under close inspection: the same blue-green color might be a dye, a metal salt, or corrosion products; a white solid could be sodium chloride, sugar, or plaster dust. Photos rarely reveal impurities, crystal water content, or exact stoichiometry—parameters that matter for reactivity, toxicity, and safe handling.
Separate outcomes into three buckets: high confidence (photo plus independent quick checks), partial confidence (photo suggests likely identity but needs a confirmatory chemical test), and low confidence (photo cannot reasonably narrow possibilities). For example, a vivid pH indicator color with a pH strip giving the same reading is high confidence; a lone photo of a white powder in an unlabeled bag is low confidence.
When the decision hinges on safety (is this toxic?), legality (controlled substances), or a purchase decision (authentic reagent vs. counterfeit), always recommend laboratory verification. You can steer readers toward useful next steps without promising certainty: document the evidence, run controlled nonhazardous tests, and—if necessary—use a certified analytical service. For a practical primer on how an algorithmic solver interprets and checks chemistry problems, see the guide “AI Chemistry Problem Solver: How the Solver Works and How to Check It.”
- High-confidence cases: clear colorimetric endpoints paired with pH strips, unambiguous precipitates with known reagent addition.
- Partial-confidence cases: distinct-looking crystals or residues that need a single discriminating test (solubility or flame test).
- Low-confidence cases: unlabeled powders, substances mixed with unknown contaminants, or anything where misidentification risks health or property damage.
- When in doubt, prioritize safety: use PPE, avoid inhalation or ingestion, and consult certified labs for critical analyses.
Related guides
Next step: use a solver for a first-pass check
If you’ve collected good photos and basic context, a solver can be a useful first pass to turn visual clues into testable hypotheses. ChemistryAI’s solver is designed to suggest likely matches and prioritized checks based on the evidence you supply; treat its output as guidance to plan the low-risk follow-ups described above rather than as final proof. If you want a next-step tool to convert your observations into a checklist and suggested confirmatory tests, try the AI Chemistry Solver at https://chemistry-ai.app/tools/ai-chemistry-solver —use it as an evidence-driven aid, then confirm high-stakes cases with certified lab analysis.
Take the next step →Frequently asked questions
Can a photo alone identify a chemical compound accurately?
No—photos can support a likely identification by showing color, phase, crystal habit, or dynamics, but they cannot confirm molecular identity, purity, or concentration. Visual evidence should be treated as a hypothesis-generating step that points to targeted confirmatory tests such as solubility checks, flame tests, or instrumental analysis when precision matters.
What should I include when I share a photo to get a better identification?
Provide a high-resolution photo from multiple angles, include a neutral white card and a ruler for scale, show any labels or surrounding reagents, and describe recent actions (what was added, when bubbling started, smells if safe). Also report the sample’s source and any handling constraints; this contextual information dramatically improves the value of visual clues.
Are there quick, safe checks I can do at home to confirm a photo-based hypothesis?
Yes—noninvasive checks like comparing solution color to a neutral white card, using pH strips, testing solubility in distilled water, or observing whether a precipitate dissolves in dilute acid are low-risk ways to narrow options. Avoid flame tests, unknown reagent mixes, or handling powders that could be toxic without proper PPE and training.
When should I recommend lab analysis instead of relying on a photo and home checks?
Recommend lab analysis when results affect health, legal standing, purchase authenticity, or structural safety—examples include suspected toxic contaminants, controlled substances, unknown residues in plumbing, or reagents for critical experiments. If any test could cause harm or if home checks leave multiple plausible hazardous candidates, escalate to certified analytical services.