

Formula Solver Chemistry: Photo Clues, Steps, and Limits
Learn what a photo can and cannot prove for formula solver chemistry, the fastest checks to run, and safe next steps before you trust a result.
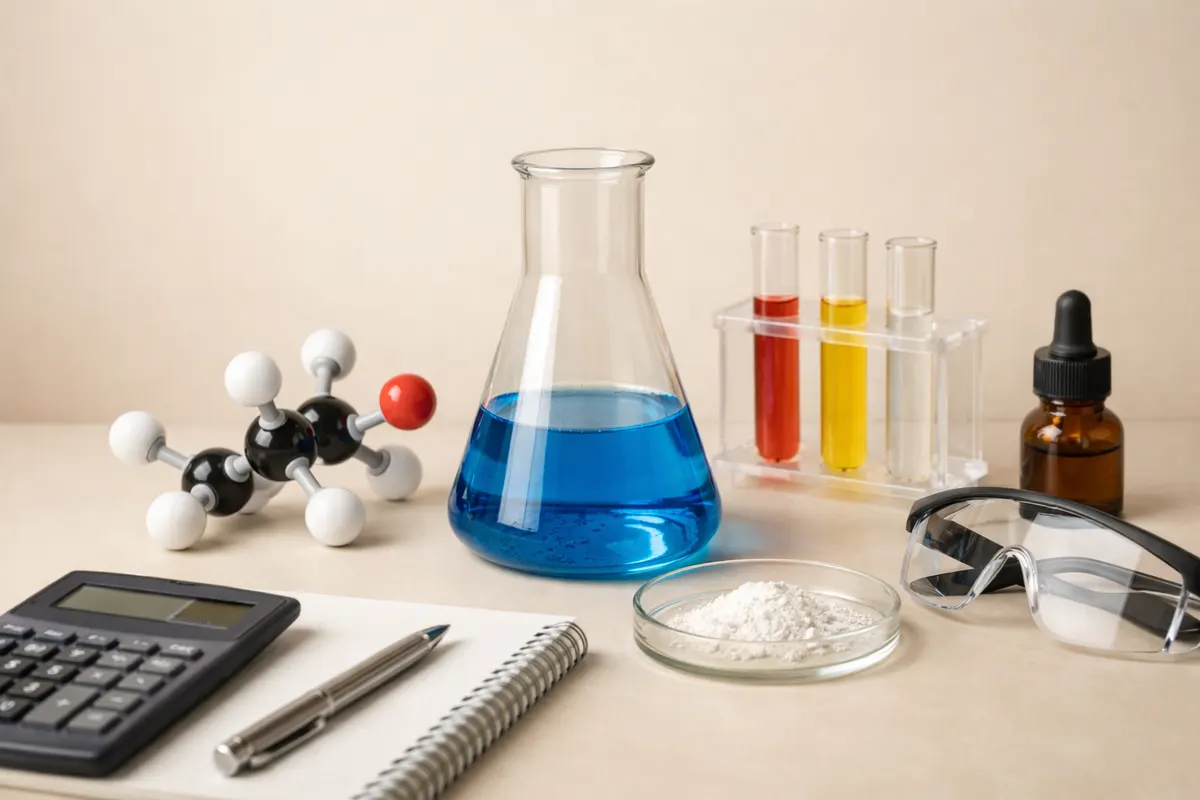
Quick answer: what formula solver chemistry can show from a photo
Formula solver chemistry can often extract clear, actionable details from a good photo — like a printed chemical formula, a labeled reagent bottle, a typed spectrum screenshot, or a readable lab notebook equation. When those elements are legible and intact, a solver can compute molar mass, suggest balancing steps, convert between grams and moles, and check stoichiometry with high confidence.
However, a photo alone rarely proves contextual facts: concentration after dilution, actual purity, unknown sample identity, or whether a handwritten formula matches an intended reagent. In short, photos can supply the raw symbols and numeric readouts the solver needs, but they rarely replace measurements, original sources, or expert verification for safety-critical decisions.
If you need a fast, practical outcome: first confirm the visible clues (clear formula, units, measurements, and scale). Then run a solver as a first pass to compute molar mass or stoichiometry, and follow a short verification checklist (source, units, and units conversions) before acting on the result.
- High confidence: extracting a printed formula (C6H12O6) and computing molar mass from it.
- Medium confidence: interpreting a photograph of labeled glassware with handwritten concentrations — legibility and context matter.
- Low confidence: identifying an unknown powder or claiming purity from color or texture alone.
What formula solver chemistry means in practical terms
At its core, "formula solver chemistry" refers to using a combination of pattern recognition and stoichiometric rules to convert chemical formulas, equations, or labels into numeric answers: molar masses, reagent amounts, balanced equations, limiting reagents, and concentration conversions. The term covers both human-led workflows and automated tools that accept typed or photographed input.
When someone searches for formula solver chemistry they usually want one of three things: a quick numeric answer (for example, grams → moles), a worked solution that shows steps, or a tool that reads an image of a problem and gives a stepwise solution. This guide focuses on what photos contribute to those outcomes and which additional checks you should perform.
A photograph contributes two types of value: the raw data (characters, numbers, symbols) and the context (labels, units, timestamps, or instrument readouts). A solver uses the raw data to compute; the context is what decides whether the computed answer is meaningful and safe to apply. Treat the photo as a data source, not as the final authority.
- Data captured: molecular formulas, numeral values, unit symbols, and structural diagrams.
- Context captured: source labels, timestamps, container sizes, and associated notes.
- Why context matters: the same formula can refer to different reagents (e.g., NH4Cl vs. NH3 in solution) or different states (hydrated vs. anhydrous), which changes calculations.
Key photo clues to check for formula solver chemistry
Not every detail in a photo matters equally. Start by confirming whether the characters and numbers are legible and unambiguous: superscripts and subscripts, decimal points, minus signs, and unit prefixes (milli-, micro-) are common failure points. If a molar mass calculation is off by a factor of 1,000, the culprit is often a missed prefix or misplaced decimal in the image.
Next, look for explicit units and measurement context. A reagent label that says "0.1 M" or "0.25 g" is far more useful than a handwritten note that reads "some solution". Check container marks: a photo of a volumetric flask stamped 100.0 mL gives a definite volume; a picture of a beaker with no scale does not.
Finally, capture corroborating context: a brand or catalog number on a bottle, a timestamped notebook entry, or a screenshot from an instrument output (pH meter, balance readout, NMR peaks) increases confidence. Screenshots of equipment readouts often include metadata (units, axis labels) that solvers can parse more reliably than photos of handwritten notes.
- Legibility: subscript numbers in formulas (H2O vs H20), decimal points, and signs.
- Units & prefixes: mg vs g, mL vs L, M (molar) vs mol — misreading these changes results dramatically.
- Container scale: volumetric flasks, graduated cylinders, and balance displays provide reliable magnitudes.
- Labels & batch info: brand, concentration, lot numbers, and expiration dates when present.
- Instrument outputs: screenshots or photos of digital readouts with axis labels and units.
Step-by-step workflow to verify a solver result from a photo
Follow a short, repeatable sequence to turn a photo into a trustworthy calculation. Start by asking: is the key text readable? If not, take a second photo with better lighting and scale. If the photo is readable, capture the exact string you see (formula, numbers, units) before running any calculation — copy the notation exactly, including hydration states or charge notation.
Next, parse ambiguous notation explicitly. If the photo shows "FeCl2·4H2O", include the hydration dot and numeral in the input. If you see a percent sign, determine whether it means w/w, w/v, or v/v from surrounding notes or typical usage. When in doubt, record the ambiguity and treat the solver output as provisional.
Run the solver for the specific task (molar mass, grams-to-moles, balancing) and keep the solver's working steps. After the solver produces a result, do three quick checks: units consistency (input vs output), magnitude sanity (orders of magnitude), and source cross-check (label vs notebook vs instrument). If any check flags an inconsistency, stop and resolve the discrepancy before acting.
- 1) Confirm legibility: rephotograph with scale, consistent light, and focus if needed.
- 2) Transcribe exactly: include subscripts, dots for hydrates, and charge notation.
- 3) Clarify units: mark missing units as "unknown" rather than assuming.
- 4) Run solver: compute molar mass, moles, or stoichiometry with the exact transcribed input.
- 5) Quick verification: unit consistency, magnitude sanity, and source cross-check.
- 6) If unsure: get a second photo, consult the original supplier label, or ask an instructor/professional.
Examples: real scenarios where formula solver chemistry helps
Example 1 — Molar mass from a textbook photo: a student snaps a clear photo of a typed formula C2H5OH in a chemistry textbook and wants molar mass. This is high-confidence: the formula is unambiguous, so compute molar mass (46.07 g·mol−1) and show the atomic mass contributions. The student should still check whether the question expects the anhydrous or an alternative form (rare for simple organics).
Example 2 — Reagent bottle with tint and partial label: a photo shows "NaCl, 0.5 M" but the concentration appears handwritten and slightly smudged. The solver can compute required volumes for dilution, but the handwritten concentration is medium confidence. Verify against the reagent's original label or prepare a fresh standard if the concentration matters for your experiment.
Example 3 — Handwritten stoichiometry problem: a photographed homework problem with a partially cropped chemical equation can lead to misinterpretation. If a reagent is missing from the photo, transcribing the equation could omit a reactant. The correct workflow is to re-capture a full-frame photo of the problem or type the complete equation before running the solver.
Example 4 — Instrument screenshot: a screenshot of a mass spec report showing a peak at m/z 180.065 and an accompanying formula suggestion is strong supporting evidence for mass-based inferences, but identification still needs structural confirmation via standards or complementary techniques. Treat the solver's match as a prioritized hypothesis, not definitive proof.
- Textbook formula → molar mass: high confidence, fast computation.
- Labeled bottle with smudged ink → use as provisional input; verify concentration before critical use.
- Partial homework photo → re-capture full problem to avoid missing reactants or conditions.
- Spectrum screenshot → useful hypothesis generator; follow with targeted confirmation tests.
Limitations: when photo-based formula solver chemistry falls short
Photos are a powerful convenience, but they have clear limitations. High-confidence outcomes occur when the image provides an exact, legible symbol string plus clear units. Partial outcomes arise when most information is present but a crucial unit or hydration state is ambiguous. Low-confidence or unreliable outcomes occur when the image suggests identity from appearance alone (color, texture) or when labels are truncated, smudged, or missing.
Separate three outcome tiers when you evaluate solver outputs from photos: High confidence (legible, complete input with corroborating label or instrument readout); Partial confidence (some ambiguity in units or notation, resolvable by a quick follow-up photo or supplier check); and Unreliable (no clear numeric data, identity assumed from color or container, or safety-critical claims like toxicity or concentration without measurement).
For safety and accuracy, always verify results that will affect health, safety, legal compliance, or experimental outcomes. Examples: preparative reagent concentrations, scaling reactions, hazardous-material handling, or any claim about edibility or toxicity. When in doubt, consult a lab supervisor, teacher, or a certified supplier's datasheet rather than relying solely on a photo-based solver.
- High-confidence → printed/typed formulas, labeled digital readouts, and clear units.
- Partial → handwritten notes with ambiguous decimals or omitted units; resolve with follow-up evidence.
- Unreliable → visual identification (color/texture) without supporting labels or measurements.
- When to escalate: unusual reagents, hazardous substances, legal/safety implications, or results that contradict supplier documentation.
Related guides
Next step: use a solver as a fast first pass
After you confirm legibility, units, and source context, run a first-pass calculation with a chemistry solver to get molar masses, conversions, and worked steps quickly. Treat the solver output as a vetted draft: check units, magnitude, and source notes before acting. If you want a guided, step-by-step solver after those checks, explore the ChemistryAI solver tools (https://chemistry-ai.app/tools/ai-chemistry-solver) for interactive worked solutions and follow-up verification resources.
Take the next step →Frequently asked questions
How accurate are solver results when I feed them a photo of a formula?
Accuracy depends on the photo's clarity and the completeness of the input. If the formula is printed, fully visible, and units are present, a solver can compute molar mass, moles, and stoichiometric conversions with high accuracy because the underlying arithmetic is deterministic. Errors most often come from misread characters (missing subscripts, decimal points, or unit prefixes) or from ambiguous context (hydrated vs anhydrous salts). Always transcribe the photo exactly and check for common misreads before trusting a numeric result.
What should I do if the photo has smudges, shadows, or cropped text?
Retake the photo with even lighting, steady focus, and an included scale (ruler or a known object) if size matters. If retaking isn't possible, transcribe the visible text and flag any uncertain characters (for example, write "0.1? M"). Treat solver outputs from uncertain transcriptions as provisional. For safety-critical work, obtain the original label, scan the supplier's datasheet, or ask the source for a clearer copy.
Can I identify an unknown powder or liquid from a photo using a formula solver?
No — visual appearance alone is insufficient to identify a chemical reliably. A photo may suggest likely candidates (white powder, crystalline habit), but the same appearance can correspond to many different compounds. Identification requires chemical analysis (IR, NMR, mass spectrometry, melting point, or chromatography) or authoritative supplier documentation. Use photo-based matches only as a hypothesis that guides proper confirmatory testing.
When should I consult a person rather than relying on a solver?
Consult a knowledgeable person for any result with safety implications, when the image or transcription is ambiguous, or when calculations will affect real-world procedures (scaling up a reaction, preparing a clinical solution, or disposing hazardous waste). Teachers, lab supervisors, and supplier technical representatives can resolve notation ambiguity, confirm correct reagent forms, and advise on safe handling and proper analytical confirmation.